This article serves as a comprehensive guide for crafting your very own kimono, offering insights that cater to both beginners and seasoned sewing enthusiasts. From the initial steps of selecting the right pattern to mastering sewing techniques, this guide is designed to make your crafting experience enjoyable and successful.
Selecting the Right Pattern
When embarking on your kimono-making journey, the first step is to choose the right pattern. It's essential to consider your personal style, the size you need, and the type of fabric that will work best with your chosen design. Popular styles include traditional, modern, and casual kimonos, each offering unique aesthetic qualities.
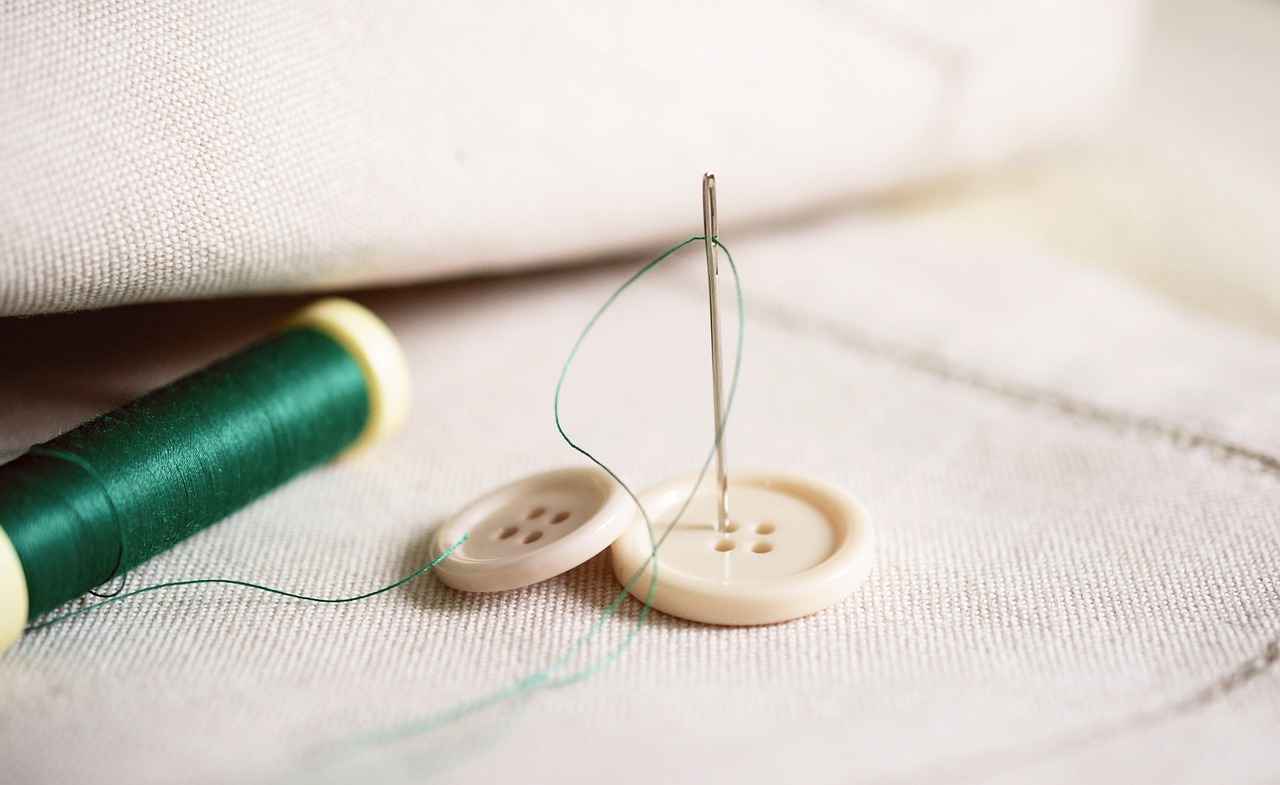
Gathering Necessary Materials
Before you start sewing, make sure to gather all the materials you will need. This includes:
- Fabric
- Thread
- Scissors
- Sewing tools (pins, measuring tape, etc.)
Having everything ready will help streamline your crafting process.
Understanding Fabric Types
The fabric you choose can significantly influence the final look and feel of your kimono. Cotton, silk, and linen are popular choices, each offering distinct textures and draping qualities. Take time to explore these options to find the perfect match for your design.
Measuring for the Perfect Fit
Accurate measurements are crucial for ensuring your kimono fits well. Learn how to measure your body properly and adjust your pattern accordingly to achieve a comfortable and flattering silhouette.
Cutting the Fabric
Cutting your fabric correctly is vital for a polished finish. Ensure you lay out your pattern accurately and follow cutting techniques to avoid mistakes that could affect the final garment.
Sewing Techniques for Beginners
If you are new to sewing, focus on mastering basic techniques such as essential stitches, seam allowances, and finishing methods. These skills will help you create a professional-looking kimono.
Adding Personal Touches
Make your kimono unique by incorporating personal touches. Consider embellishments, color choices, and design modifications that reflect your individual style.
Understanding Kimono Construction
The assembly of a kimono involves specific techniques. Familiarize yourself with the construction process, including how to join seams and attach sleeves for a cohesive look.
Finishing Touches
Finishing touches can elevate your kimono from ordinary to extraordinary. Pay attention to hemming, adding closures, and other details that enhance its overall appearance and functionality.
Care and Maintenance of Your Kimono
To ensure your kimono lasts, proper care is essential. Learn about washing, ironing, and storing techniques that will keep your garment looking fresh and vibrant.
Inspiration from Traditional Kimonos
Explore traditional kimono designs to inspire your creations. Understanding historical styles and cultural significance can enrich your design choices.
Conclusion and Next Steps
After completing your kimono, consider what your next sewing project might be. Reflect on the skills you’ve gained and how you can apply them to future endeavors in garment-making.
Selecting the Right Pattern
Choosing the right pattern for your kimono project is a pivotal step that can significantly influence the final result. The pattern serves as the blueprint for your creation, and selecting one that aligns with your vision is essential for achieving a stunning garment.
When embarking on this creative journey, consider the following key factors:
- Style: The style of the kimono can range from traditional to modern interpretations. Do you prefer a classic look with wide sleeves and a flowing silhouette, or are you drawn to a more contemporary design with unique cuts? Research various styles to find one that resonates with your aesthetic.
- Size: Accurate sizing is crucial for comfort and fit. Ensure that the pattern you choose accommodates your measurements. It’s advisable to take your measurements carefully and compare them with the sizing chart provided in the pattern to avoid any fitting issues later on.
- Fabric Requirements: Different patterns may call for specific types of fabric. Consider the drape and weight of the fabric you wish to use. Lighter fabrics like silk will create a different look compared to heavier materials such as cotton or linen. Always check the pattern instructions for recommended fabric types to ensure optimal results.
- Skill Level: Be honest about your sewing skills. Some patterns are designed for beginners, while others may be more complex. Choose a pattern that matches your skill level to prevent frustration and ensure a rewarding crafting experience.
By carefully considering these factors, you can select a pattern that not only meets your creative vision but also enhances your sewing journey. A well-chosen pattern will serve as a solid foundation for your kimono, paving the way for a successful and fulfilling project.
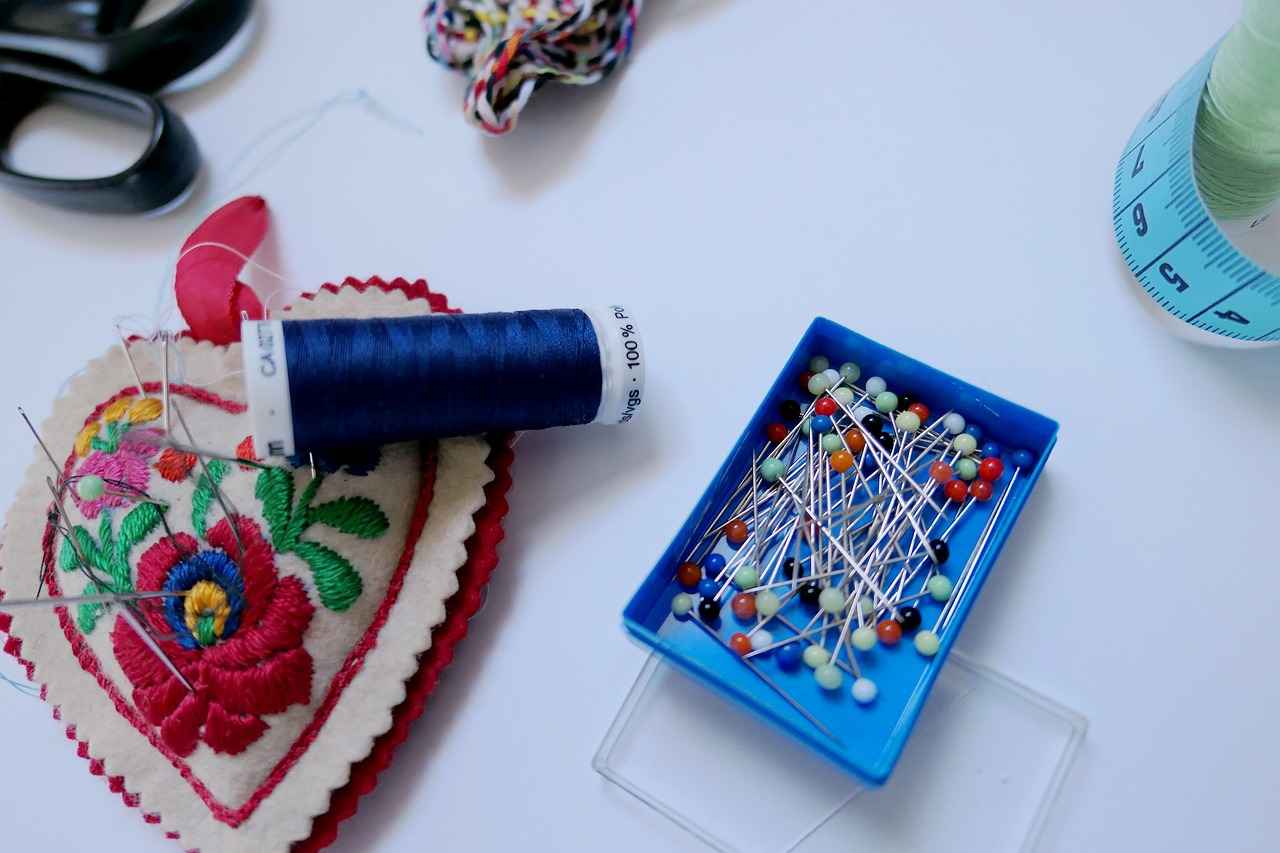
Gathering Necessary Materials
is a crucial step in the sewing process, especially when creating your own kimono. Proper preparation not only enhances your crafting efficiency but also ensures a smooth and enjoyable experience. Below is a detailed guide on the essential materials you'll need, along with some tips for effective organization.
- Fabric: Choose a fabric that suits your style and the season. Popular options for kimonos include cotton for breathability, silk for elegance, and linen for comfort. Ensure you have enough fabric based on your pattern requirements.
- Thread: Select a thread that matches your fabric color. It’s advisable to use a high-quality polyester or cotton thread for durability.
- Scissors: Invest in a good pair of fabric scissors. These should be sharp and designated solely for cutting fabric to maintain their effectiveness.
- Sewing Tools: Gather essential tools such as pins, a measuring tape, a seam ripper, and a ruler. These tools will aid in precise measurements and adjustments.
- Pattern: Obtain a kimono pattern that fits your design vision. Patterns can be purchased or downloaded online, and they often come with instructions that simplify the sewing process.
- Iron: An iron is essential for pressing seams and ensuring a polished finish. A good steam iron will help in shaping your fabric correctly.
Once you have all your materials gathered, organize them in a dedicated workspace. This can be a sewing table or a well-lit area where you can spread out your fabric and tools. Keeping everything within reach will allow you to focus on your creative process without unnecessary interruptions.
In conclusion, taking the time to gather and organize your materials effectively will streamline your sewing project, allowing you to create a beautiful kimono with ease and confidence.
Understanding Fabric Types
When creating your own kimono, the choice of fabric is one of the most significant decisions you will make. Different fabrics can dramatically affect the look and feel of your garment, influencing its drape, comfort, and overall aesthetic. In this section, we will explore various fabric options, including cotton, silk, and linen, to help you select the best fit for your project.
- Cotton: Cotton is a popular choice for kimono-making due to its breathability and versatility. It is easy to work with, making it ideal for beginners. Cotton fabrics come in a variety of prints and colors, allowing for personalized designs. Additionally, cotton is durable and machine washable, ensuring easy maintenance.
- Silk: For a more luxurious feel, silk is an excellent option. This fabric drapes beautifully and has a natural sheen that adds elegance to any kimono. However, silk can be more challenging to sew, requiring careful handling and specialized techniques. It's perfect for special occasions or when you want to create a statement piece.
- Linen: Linen is another fantastic fabric choice, known for its strength and breathability. It has a unique texture that gives kimonos a relaxed yet sophisticated look. Linen can wrinkle easily, which may add to its charm, but be prepared for some extra care when sewing and maintaining this fabric.
In addition to these popular fabrics, consider other options like rayon, polyester blends, and specialty fabrics that may suit your design vision. Each fabric type carries its own characteristics, so it is essential to understand how they impact the overall design and functionality of your kimono.
In summary, the fabric you choose will not only influence the appearance of your kimono but also its comfort and practicality. Take the time to explore various fabric options, and you’ll create a garment that is not only beautiful but also uniquely yours.
Measuring for the Perfect Fit
Creating a kimono that fits beautifully requires more than just a good pattern; it demands accurate measurements of your body. This step is crucial to ensure that the final garment not only looks great but also feels comfortable. Below, we will guide you through the process of measuring yourself and adjusting patterns for the perfect fit.
- Gather Your Tools: Before you start measuring, ensure you have a flexible measuring tape, a notebook, and a pen. A mirror can also be helpful for checking your measurements.
- Take Key Measurements: Focus on the following areas:
- Bust: Measure around the fullest part of your bust, keeping the tape straight and snug but not tight.
- Waist: Measure around your natural waistline, which is usually just above your belly button.
- Hips: Measure around the widest part of your hips, ensuring the tape is parallel to the floor.
- Shoulder Width: Measure from the edge of one shoulder to the edge of the other.
- Arm Length: Measure from the shoulder seam to your wrist.
- Adjusting Patterns: Once you have your measurements, compare them with the pattern's sizing chart. If your measurements fall between sizes, consider making adjustments to achieve the desired silhouette. You may need to add or subtract fabric in specific areas to enhance fit and comfort.
Remember, practice makes perfect. It may take a few tries to get your measurements just right, but the effort will pay off in the form of a beautifully fitting kimono. Take your time, and don't hesitate to seek assistance if needed. With accurate measurements and careful adjustments, you’ll create a garment that showcases your style while ensuring comfort.
Cutting the Fabric
Cutting your fabric correctly is essential for a polished finish when creating your own kimono. This process not only affects the overall appearance of your garment but also influences how well the pieces fit together during assembly. Here are some valuable tips and techniques to help you lay out your pattern and cut fabric pieces accurately, ensuring you avoid common mistakes.
- Prepare Your Workspace: Ensure your cutting area is clean, well-lit, and spacious. A dedicated workspace helps you focus and reduces the risk of errors.
- Use the Right Tools: Invest in sharp fabric scissors or a rotary cutter, a cutting mat, and weights or pins. These tools are essential for achieving clean cuts and precise measurements.
- Pre-Wash Your Fabric: Washing your fabric before cutting can prevent any future shrinkage issues, ensuring your kimono maintains its intended size and shape.
- Lay Out Your Pattern: Carefully lay out your pattern pieces on the fabric, following the grainline indicated on the pattern. This ensures that your pieces are cut in the correct direction, which is crucial for maintaining the fabric's drape and appearance.
- Pin or Weigh Down Patterns: Use pins or weights to secure the pattern pieces in place. This prevents shifting while you cut, which can lead to uneven edges.
- Cut with Precision: Take your time when cutting. Use smooth, steady motions to avoid jagged edges. If using a rotary cutter, make sure to apply even pressure.
- Double-Check Measurements: Before cutting, double-check your measurements and the layout of your pattern pieces. This extra step can save you from costly mistakes.
By following these tips, you'll be well on your way to achieving accurate cuts that contribute to a beautifully finished kimono. Remember, the effort you put into cutting your fabric will pay off in the final product.
Sewing Techniques for Beginners
If you are just embarking on your sewing journey, mastering the basic techniques is crucial for success. This section will guide you through essential stitches, seam allowances, and finishing methods that will help you create a professional-looking kimono.
To begin, it's important to familiarize yourself with the basic stitches that serve as the foundation of sewing. The most common stitches include:
- Straight Stitch: This is the most basic stitch used for sewing seams. It's perfect for joining fabric pieces together.
- Zigzag Stitch: This stitch is useful for finishing edges to prevent fraying and can also be used for stretch fabrics.
- Backstitch: A strong stitch that is great for reinforcing seams, especially in areas that experience stress.
Understanding seam allowances is another critical aspect of sewing. The seam allowance is the area between the fabric edge and the stitching line. Typically, a seam allowance of 1/4 inch to 5/8 inch is standard, depending on the pattern. Proper seam allowances ensure that your garment fits well and maintains its shape.
Next, let's discuss finishing methods. These techniques are vital for achieving a polished look. Common finishing methods include:
- Overlocking: This technique uses an overlock machine to create a clean edge that prevents fraying.
- French Seams: This method encloses raw edges within the seam, giving a neat finish ideal for lightweight fabrics.
- Bias Tape: Using bias tape can add a decorative touch while also finishing edges effectively.
By mastering these essential techniques, you will be well on your way to creating a beautifully crafted kimono. Remember, practice makes perfect, and don't hesitate to experiment with different stitches and finishes to find what works best for you.
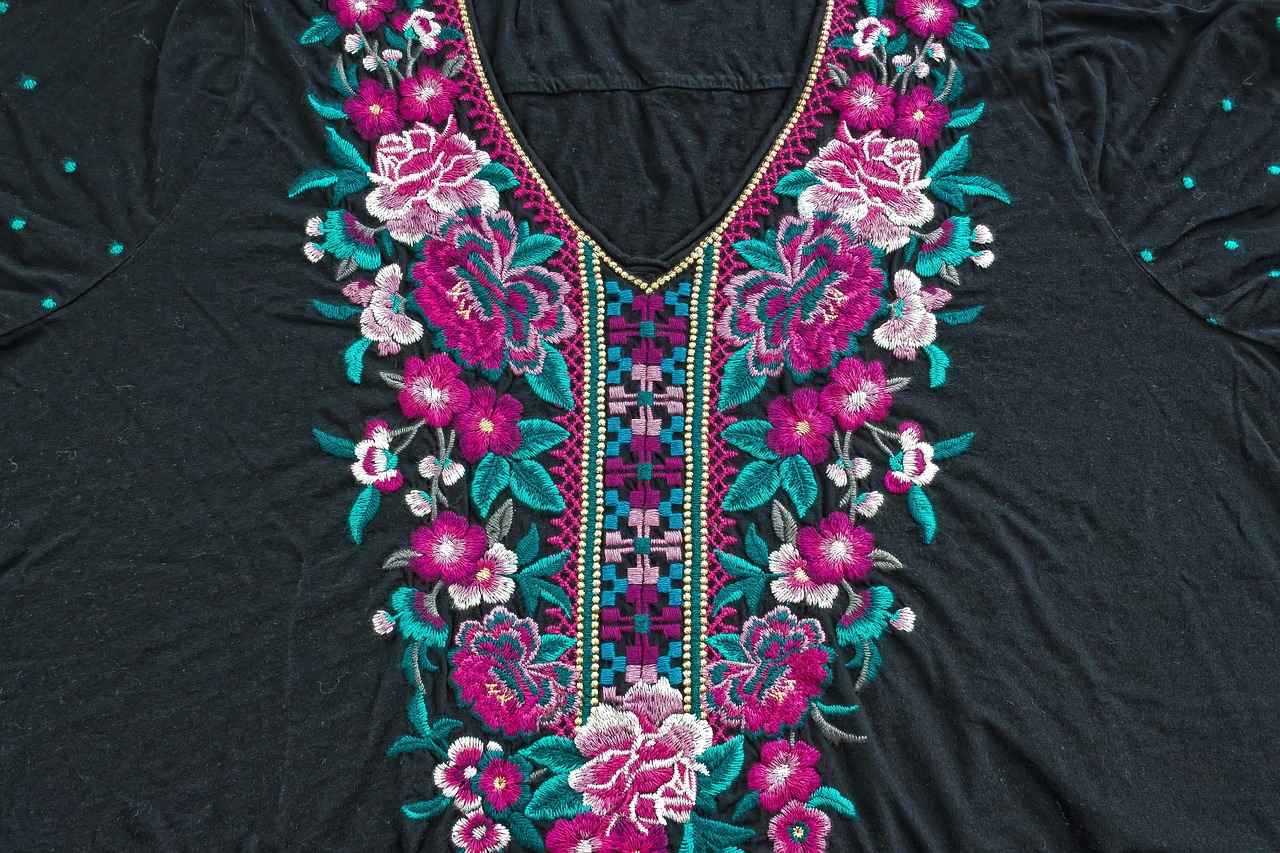
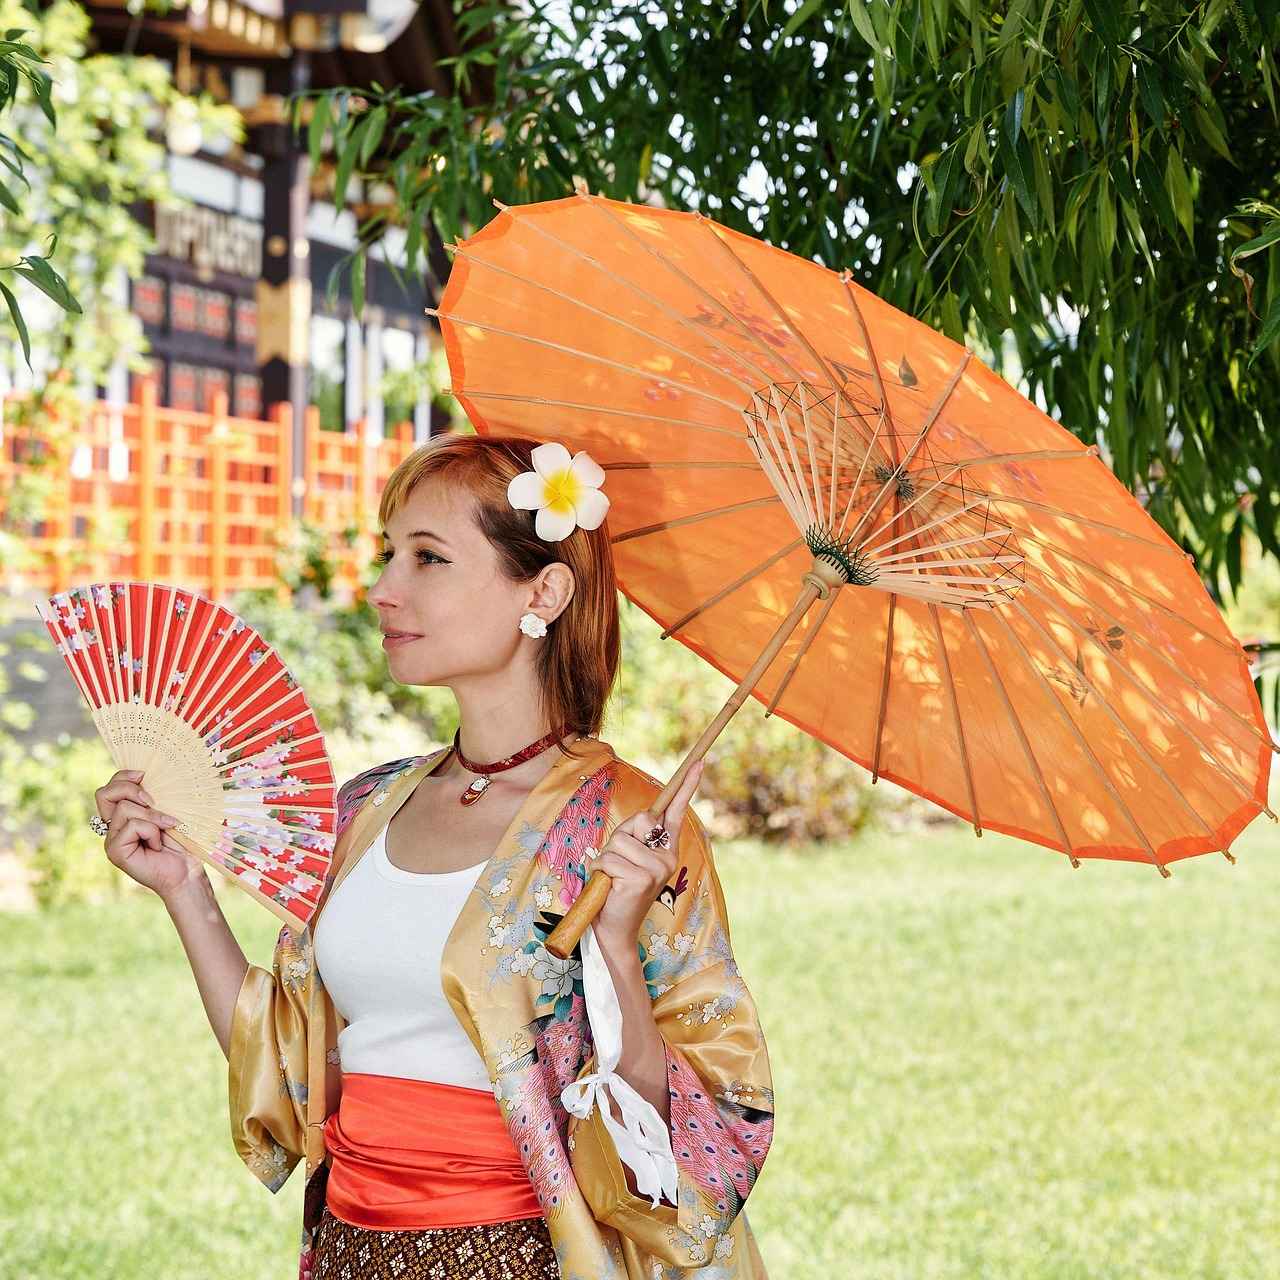
Adding Personal Touches
When it comes to creating a kimono that truly reflects your personality, personalization is key. By incorporating unique embellishments, selecting specific color palettes, and making thoughtful design modifications, you can craft a garment that not only stands out but also resonates with your individual style. Here are some ideas to inspire your creativity:
- Embellishments: Consider adding hand-stitched embroidery or fabric appliqués to your kimono. These decorative elements can range from simple floral patterns to intricate designs that tell a story or represent your interests.
- Color Choices: The color scheme of your kimono can dramatically influence its overall aesthetic. Explore bold colors for a vibrant look or pastel shades for a more subdued and elegant appearance. You can also consider using tie-dye techniques or ombre effects for a modern twist.
- Design Modifications: Feel free to modify the traditional kimono silhouette. You might opt for shorter sleeves or a cropped length for a contemporary feel. Adding a belt or sash in a contrasting color can also enhance the overall design.
- Fabric Choices: Selecting the right fabric is crucial for both comfort and style. Experiment with different materials such as silk, cotton, or even denim to create a unique texture and look.
By incorporating these personalized elements, your kimono will not only be a fashionable garment but also a reflection of your creativity and individuality. Remember, the goal is to create something that feels uniquely yours, so let your imagination run wild!
Understanding Kimono Construction
The construction of a kimono is an intricate process that requires attention to detail and a grasp of specific techniques. This traditional garment is known for its elegant design and unique assembly, which involves several key steps to ensure a beautifully finished piece.
First, it is essential to prepare your fabric. Pre-washing your fabric can prevent future shrinkage and ensure that the colors remain vibrant. Once your fabric is ready, the next step is to cut the pattern pieces accurately. This includes the body of the kimono, sleeves, and any additional components such as a collar or sash.
After cutting, the assembly process begins. The first technique to master is joining seams. This is crucial for creating a cohesive garment. Use a sewing machine to sew the pieces together, ensuring that you maintain a consistent seam allowance for a polished finish. Take care to press the seams open as you go, which helps in achieving a neat appearance.
Next, attaching the sleeves is a vital step in kimono construction. This usually involves aligning the sleeves with the armholes and securing them with pins before sewing. It's important to ensure that the sleeves are set in a way that allows for comfortable movement.
Once the body and sleeves are joined, you can focus on finishing touches. This includes adding a hem to the bottom of the kimono and any decorative elements that reflect your personal style. Some may choose to add embroidery or fabric paint for a unique flair.
Finally, the care and maintenance of your kimono are crucial for its longevity. Proper washing and storage techniques will keep your garment looking stunning for years to come.
By following these steps and techniques, you can create a beautiful kimono that showcases your sewing skills and creativity.

Finishing Touches
can transform your kimono from a simple garment into a stunning piece of art. These final details not only enhance the visual appeal but also improve the functionality of your kimono. Here’s how you can achieve that perfect finish:
- Hemming: A well-executed hem is essential for a polished look. You can choose a double-fold hem for a clean finish or a rolled hem for a more delicate appearance. Make sure to press the hem before sewing to ensure accuracy and neatness.
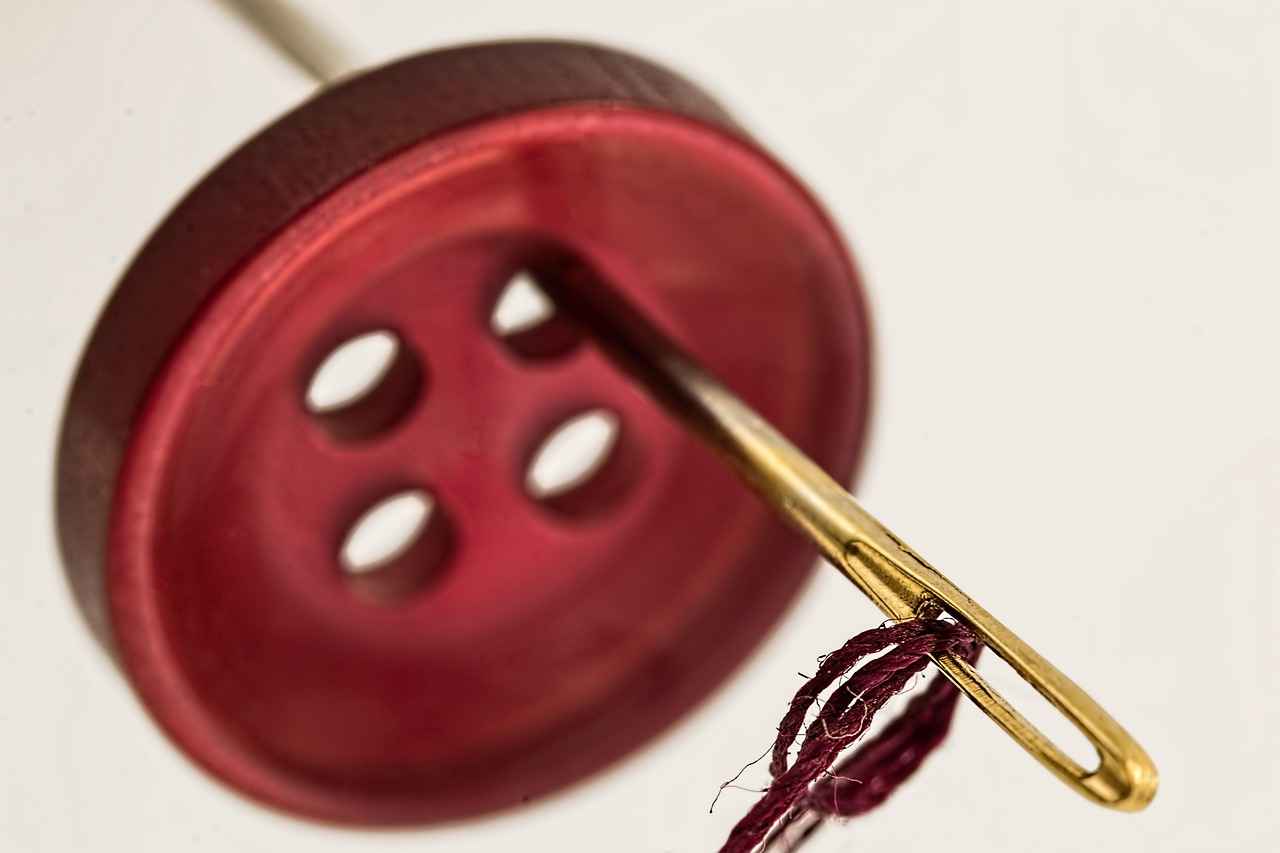
- Adding Closures: The right closure can not only secure your kimono but also add a unique touch. Options include hooks and eyes, ties, or even decorative buttons. Choose closures that complement your fabric and overall design.
- Embellishments: Consider adding personal flair through embroidery, patches, or appliqué. These elements can reflect your personality and make your kimono truly one-of-a-kind.
- Finishing Seams: Neatening the inside seams with techniques like zigzag stitching or using a serger can prevent fraying and provide a professional finish. This attention to detail will enhance the durability of your garment.
- Pressing: After all the sewing is done, give your kimono a good press. This step is crucial as it helps to set the seams and gives the fabric a crisp, finished look.
Incorporating these finishing touches will not only elevate the aesthetic of your kimono but also ensure that it stands the test of time. Remember, the beauty of a kimono lies in the details, so take your time to perfect each aspect.
Care and Maintenance of Your Kimono
Proper care is essential to ensure the longevity of your kimono. By following the right washing, ironing, and storing techniques, you can keep your garment looking fresh and vibrant for years to come. Below are some comprehensive tips for maintaining your kimono effectively.
- Washing Your Kimono: Always check the care label before washing. If your kimono is made of delicate fabric like silk, consider hand washing it in cold water using a gentle detergent. For cotton kimonos, a gentle cycle in the washing machine may suffice. Avoid bleach and fabric softeners, as they can damage the fabric.
- Drying Techniques: After washing, gently press out excess water without wringing. Lay the kimono flat on a clean towel to air dry, avoiding direct sunlight which can fade colors. If you must use a dryer, opt for a low heat setting.
- Ironing Your Kimono: If your kimono has wrinkles, use a low heat setting on your iron. Place a thin cloth between the iron and the kimono to prevent direct contact, especially for delicate fabrics. Steam can also be a great alternative to remove creases.
- Storing Your Kimono: When not in use, store your kimono in a cool, dry place. Use a breathable garment bag to protect it from dust and pests. Avoid hanging it on metal hangers, as they can cause rust stains; instead, opt for padded or wooden hangers.
- Regular Inspections: Periodically check your kimono for any signs of wear or damage. Addressing small issues early can prevent larger problems later. Consider professional cleaning if you notice stubborn stains or odors.
By implementing these care and maintenance practices, you can ensure that your kimono remains a beautiful and cherished piece in your wardrobe for many years.
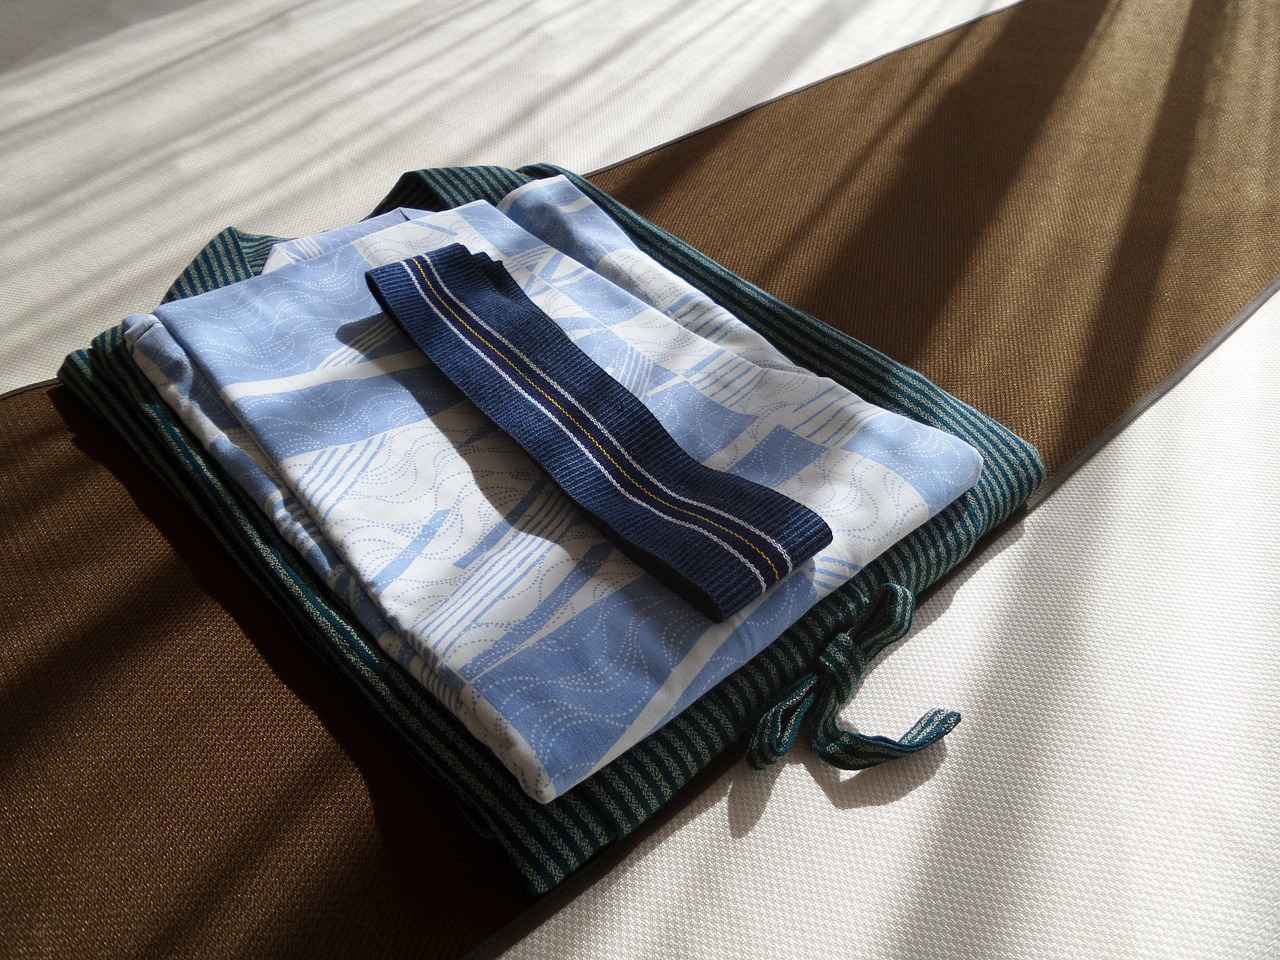
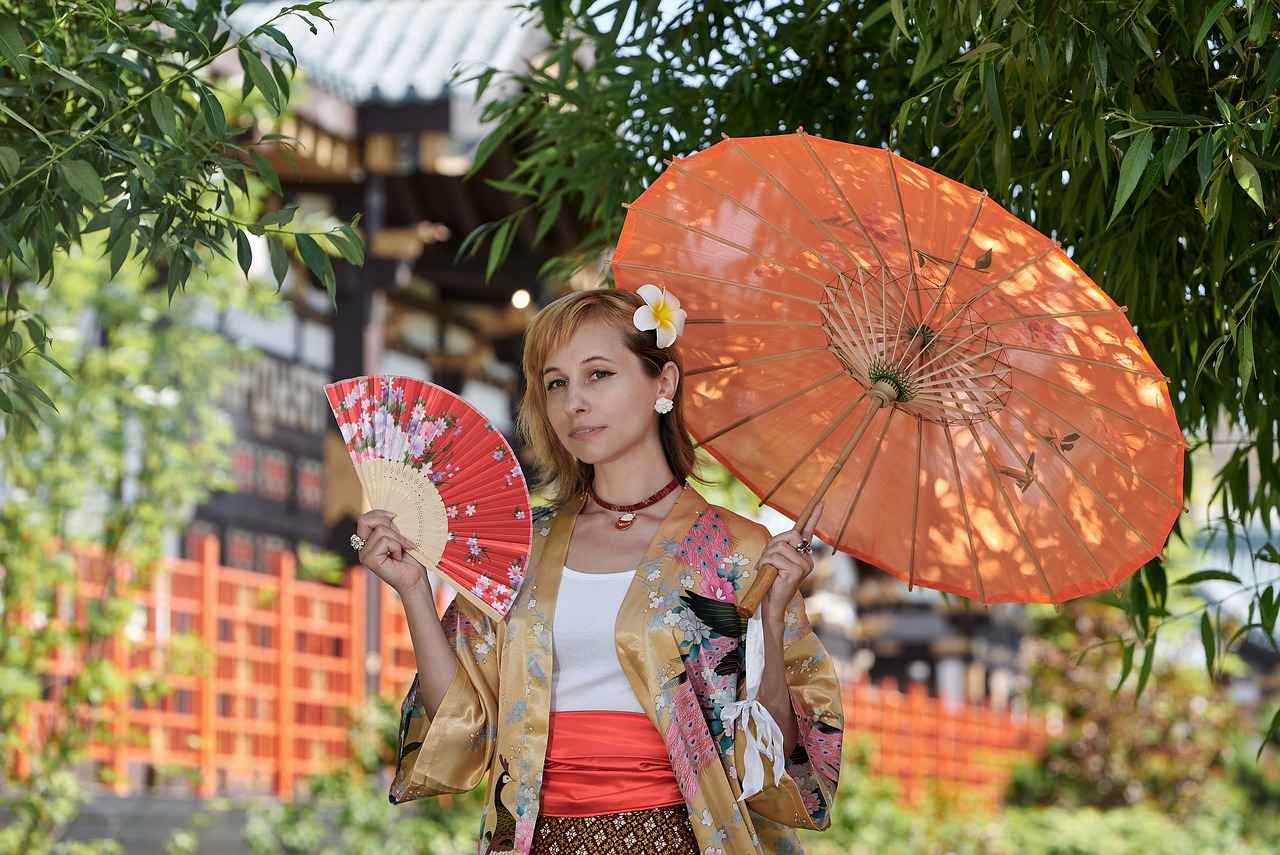
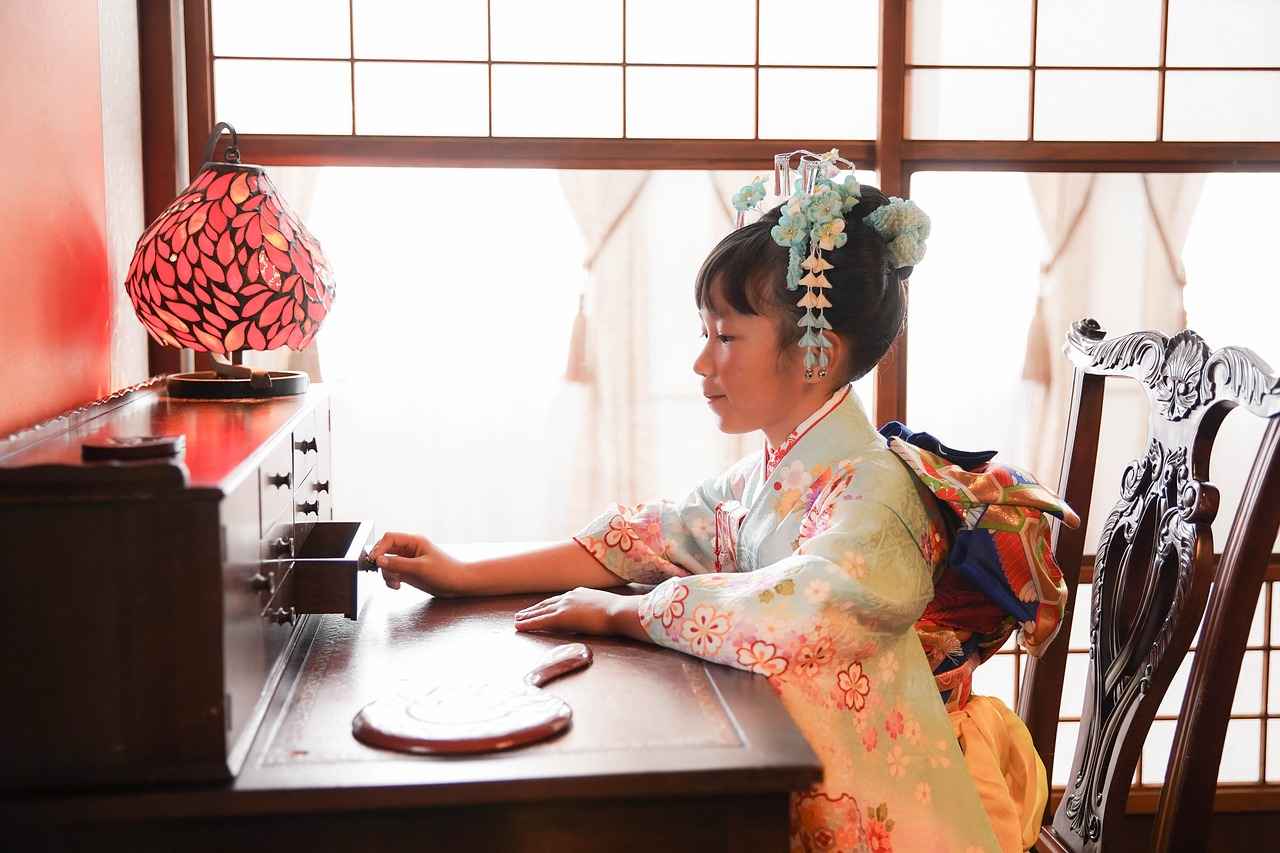
Inspiration from Traditional Kimonos
Exploring traditional kimono designs offers a rich tapestry of inspiration for your own creations. The kimono, a symbol of Japanese culture, is not just a garment but a canvas that tells stories through its intricate patterns and historical significance. By delving into various styles, you can uncover elements that resonate with your personal design aesthetic.
Throughout history, kimonos have been crafted using a variety of fabrics, colors, and patterns, each serving a unique purpose and symbolizing different aspects of life. For instance, family crests (Kamon) display lineage and heritage, while seasonal motifs reflect the beauty of nature. Understanding these elements can enhance your own designs, allowing you to incorporate meaningful symbols that tell your story.
- Historical Styles: Traditional kimonos come in various styles such as Furisode, worn by young women, and Yukata, a casual summer kimono. Each style has its own significance and occasion, providing a wealth of ideas for your creations.
- Patterns and Textiles: The use of specific patterns, like Asanoha (hemp leaf) or Seigaiha (waves), can inspire your fabric choices. Investigating these traditional designs can spark new ideas for modern interpretations.
- Cultural Significance: Kimonos are often worn during significant life events, such as weddings and festivals. Understanding the cultural context can inform your design choices and help you create garments that resonate emotionally with wearers.
As you explore these traditional elements, consider how they can influence your own creations. Whether you choose to modernize a classic pattern or incorporate traditional motifs into contemporary styles, the possibilities are endless. This exploration not only enriches your understanding of kimonos but also enhances your design choices, making your creations unique and meaningful.
In conclusion, the journey of designing your own kimono can be deeply rewarding. By embracing the rich heritage of traditional kimonos, you can create garments that celebrate both your creativity and the cultural significance of this timeless attire.
Conclusion and Next Steps
Completing your kimono is a significant achievement, showcasing your dedication and skill in garment-making. As you admire your finished piece, it's essential to take a moment to reflect on the journey you've undertaken. Consider the various techniques you've mastered, from selecting the right fabric to executing intricate sewing methods. Each step has contributed to your growth as a crafter.
Now that you've successfully created your kimono, it's time to think about your next sewing project. Here are some ideas and considerations to guide your decision:
- Explore New Patterns: Challenge yourself by selecting a different garment pattern, such as a dress or a jacket. This will allow you to apply the skills you've learned while expanding your repertoire.
- Experiment with Fabrics: Try working with various fabrics, such as silk or linen, that may require different techniques. This experimentation can enhance your sewing abilities and lead to exciting new creations.
- Incorporate Embellishments: Use your kimono as inspiration to add unique touches to your next project. Consider incorporating embroidery, appliqué, or fabric painting to personalize your garments.
- Join a Sewing Community: Engage with fellow sewing enthusiasts to share ideas and gather feedback on your work. Joining a community can provide motivation and support as you tackle new challenges.
- Set Goals: Define specific goals for your next project. Whether it's mastering a new technique or completing a garment within a set timeframe, having clear objectives can keep you focused and motivated.
By reflecting on what you've learned and applying these insights to future projects, you can continue to develop your skills and enjoy the creative process of sewing. Embrace the journey ahead, and let your passion for garment-making flourish!
Frequently Asked Questions
- What fabric is best for making a kimono?
Choosing the right fabric is key! Cotton is great for beginners due to its ease of handling, while silk offers a luxurious feel. Linen is another option if you prefer something breathable. Think about the look and comfort you want for your kimono!
- How do I measure myself for a kimono?
Measuring yourself is simple! Use a soft measuring tape and take measurements of your bust, waist, and hips. Don’t forget to include the length from your shoulder to the desired hem. Adjust your pattern based on these measurements for a perfect fit!
- Can I personalize my kimono?
Absolutely! Personalizing your kimono can be a fun part of the process. Consider adding embellishments like embroidery, choosing unique colors, or modifying the design to reflect your style. Make it yours!
- What are the essential sewing techniques I should know?
For beginners, mastering a few basic techniques will go a long way. Learn about straight stitches, seam allowances, and how to finish edges neatly. These skills will help you create a professional-looking kimono!
- How should I care for my kimono?
To keep your kimono looking fabulous, wash it gently in cold water and hang it to dry. Iron it on a low setting to avoid damaging the fabric. Proper care will ensure your kimono lasts for years!