This article provides a detailed guide on crafting your own kimono using a sewing pattern, covering essential materials, techniques, and tips for a successful project.
Understanding Kimono Styles
- Traditional Kimonos: Explore the elegance of classic designs.
- Modern Variations: Discover contemporary styles that blend tradition with current fashion trends.
- Casual vs. Formal: Understand the differences to choose the right design for your occasion.
Choosing the Right Fabric
Selecting the appropriate fabric is crucial for your kimono’s look and feel. Popular choices include:
- Satin: Offers a luxurious finish.
- Cotton: Ideal for casual wear due to its breathability.
- Silk: A traditional choice that provides a stunning drape.
Essential Sewing Tools
| Tool | Purpose |
|---|---|
| Fabric Scissors | Cutting fabric accurately. |
| Measuring Tape | Ensuring precise measurements. |
| Sewing Machine | For efficient sewing. |
Reading the Sewing Pattern
Understanding how to read and interpret sewing patterns is vital. Familiarize yourself with:
- Pattern Symbols: Learn what each symbol indicates.
- Instructions: Follow the steps carefully for best results.
Preparing Your Fabric
Pre-wash your fabric to prevent shrinking and ensure you cut accurately. Ironing your fabric will also help achieve clean edges.
Cutting the Pattern Pieces
Lay out your pattern pieces efficiently to minimize fabric waste. Take your time to ensure accuracy in cutting.
Assembling the Kimono
Follow a step-by-step approach to sew your kimono. Start with the main body, then add sleeves and finishes.
Adding Decorative Elements
Enhance your kimono with unique touches like embroidery or fabric paint to showcase your personal style.
Finishing Touches
Complete your kimono by hemming the edges and adding any closures, ensuring a polished look.
Styling Your Kimono
Experiment with layering and accessories to create versatile outfits. Consider pairing your kimono with a belt or statement jewelry.
Common Mistakes to Avoid
Be mindful of frequent pitfalls, such as incorrect measurements or rushing the sewing process. Take your time for best results.
Conclusion and Final Thoughts
Creating your own kimono can be a rewarding experience. Enjoy the journey and apply what you’ve learned to future sewing projects, embracing the satisfaction of crafting your own clothing.
Understanding Kimono Styles
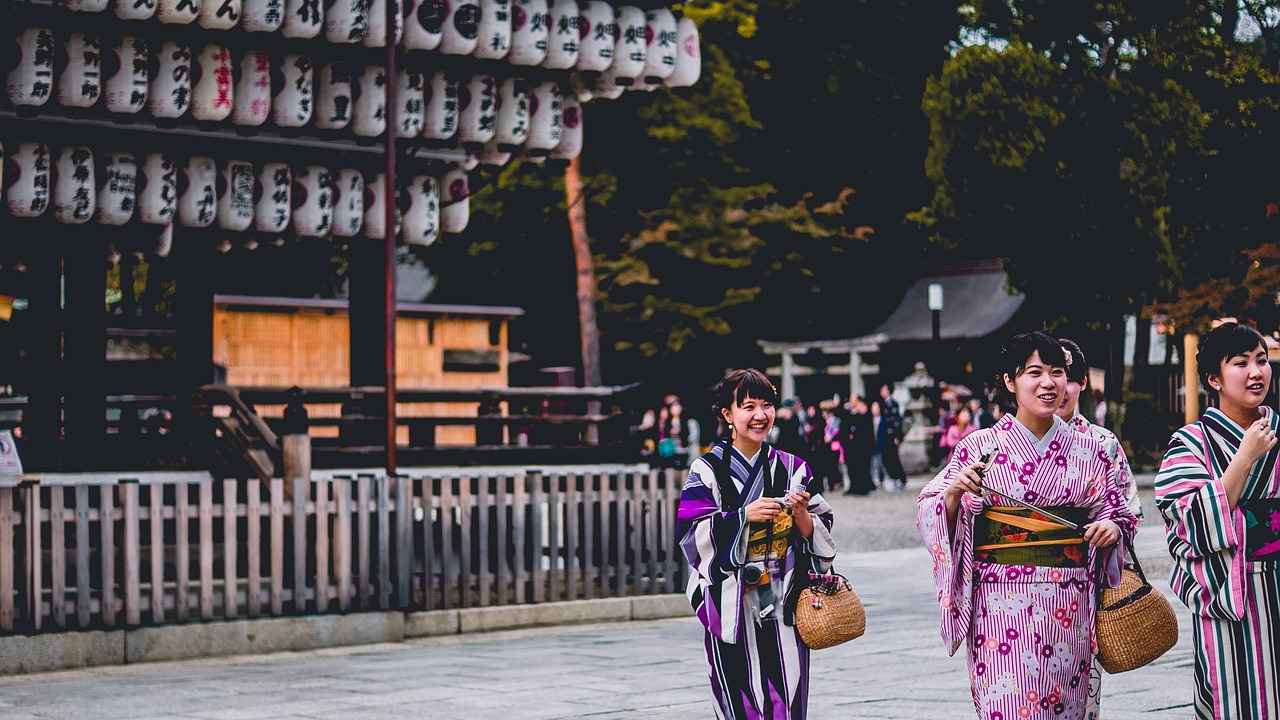
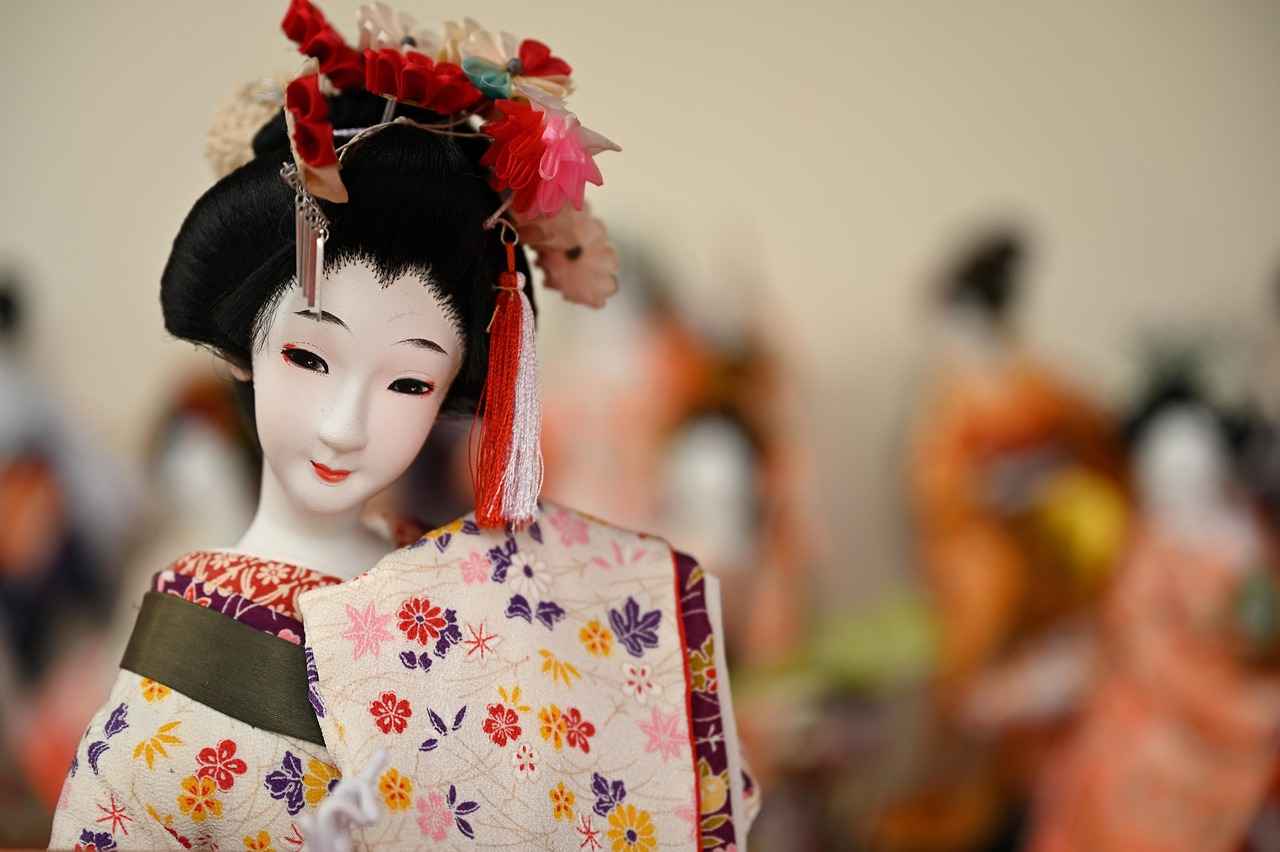
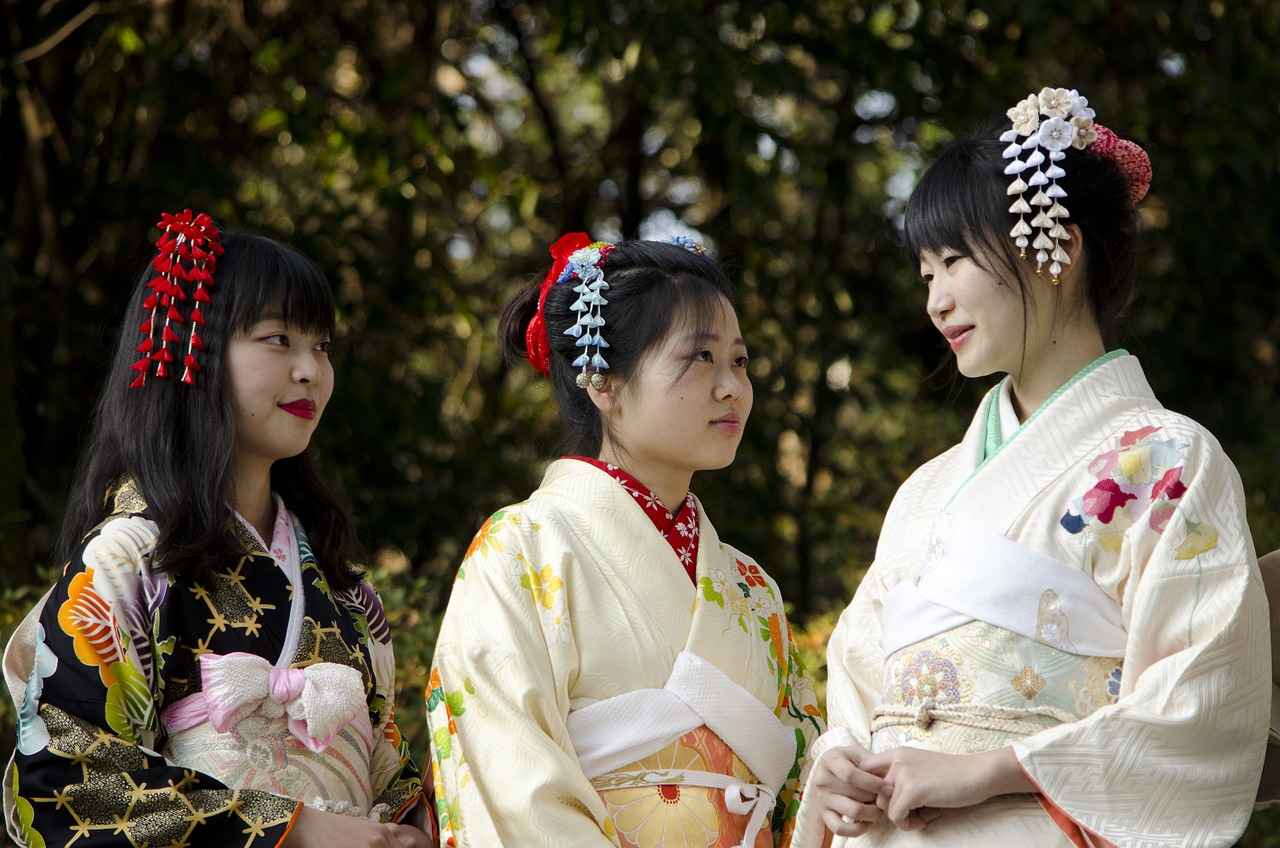
When it comes to creating your own kimono, it’s essential to understand the various styles available. Kimonos are not just garments; they are a rich part of Japanese culture, each style telling its own story. In this section, we will explore both traditional and modern variations of kimonos, helping you choose the right design for your sewing project.
- Traditional Kimonos:
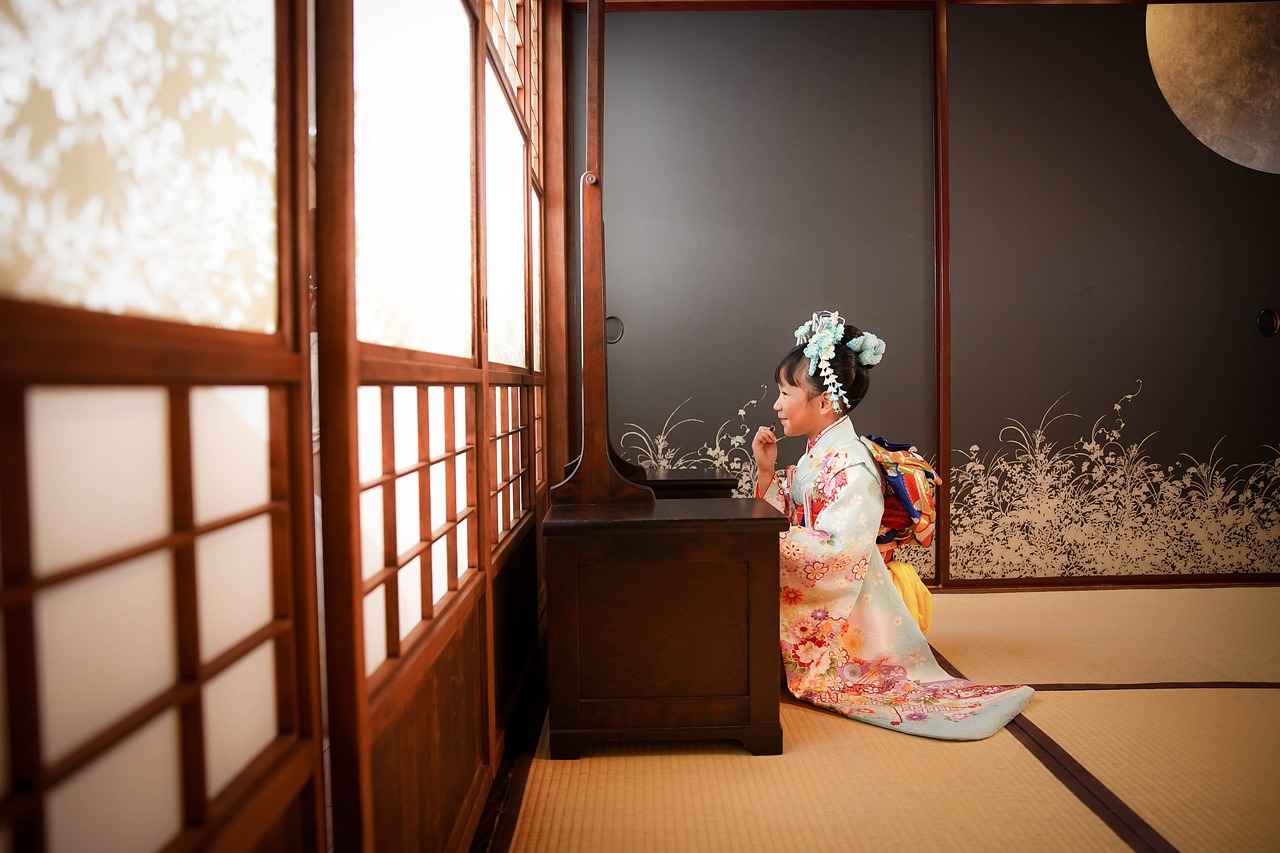
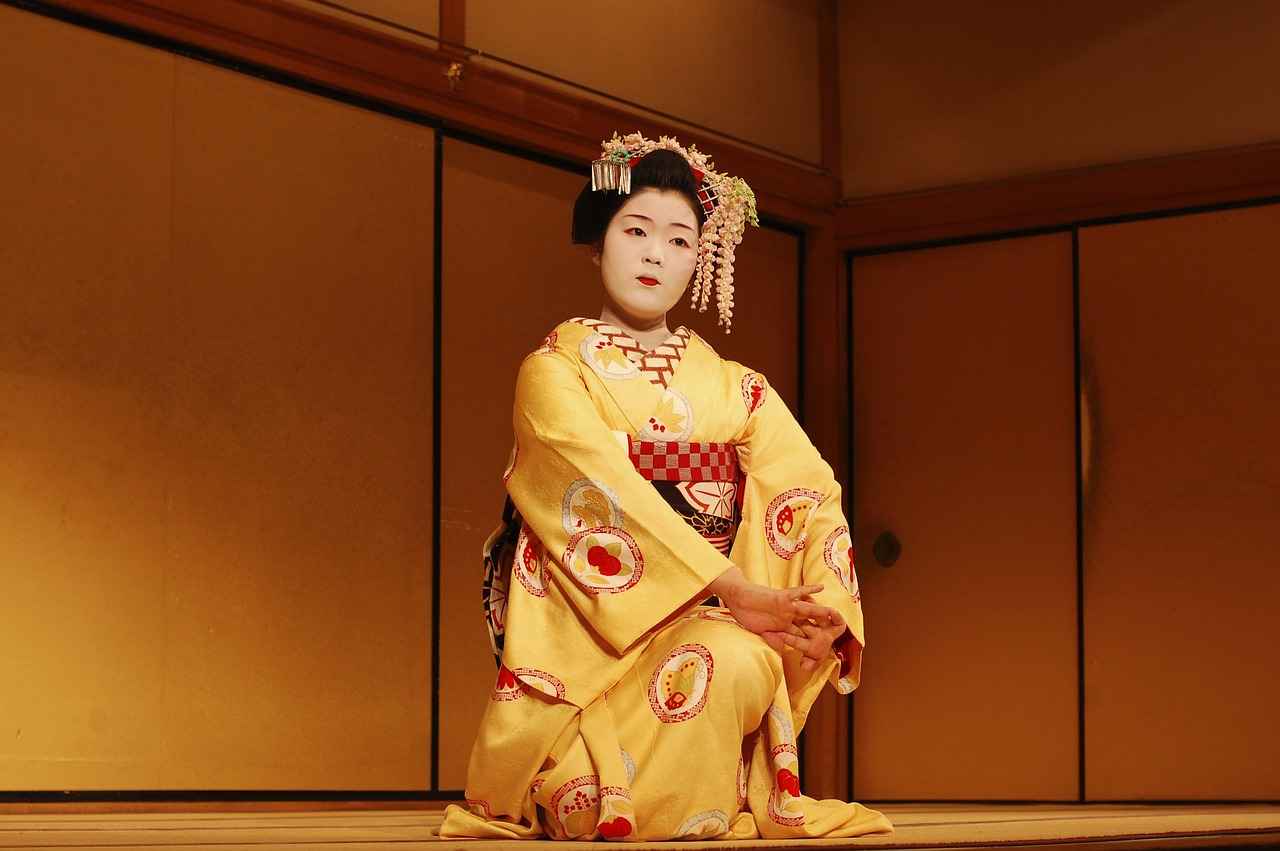
- Furisode: This style features long sleeves and is often worn by young women at special occasions. The vibrant colors and intricate patterns make it a popular choice for formal events.
- Yukata: A casual summer kimono made from lightweight cotton. It’s perfect for festivals and hot weather, often adorned with colorful prints.
- Hōmongi: A formal kimono suitable for weddings and ceremonies, characterized by its elegant patterns that flow across seams.
- Modern Kimonos:
- Kimono Cardigans: A contemporary twist on the traditional design, these are often made from lighter materials and can be worn as layering pieces over casual outfits.
- Asymmetrical Kimonos: Featuring unique cuts and styles, these kimonos offer a modern silhouette while still embracing traditional elements.
- Printed Kimonos: Often made from various fabrics, these kimonos come in a range of colors and patterns, making them versatile for everyday wear.
Choosing the right style for your kimono project will depend on the occasion and your personal taste. Whether you lean towards the elegance of traditional designs or the casual flair of modern interpretations, understanding these styles will guide you in making an informed decision.
In conclusion, the world of kimonos is vast and varied, offering something for everyone. By exploring the different styles, you can find the perfect design that resonates with your sewing aspirations.
Choosing the Right Fabric
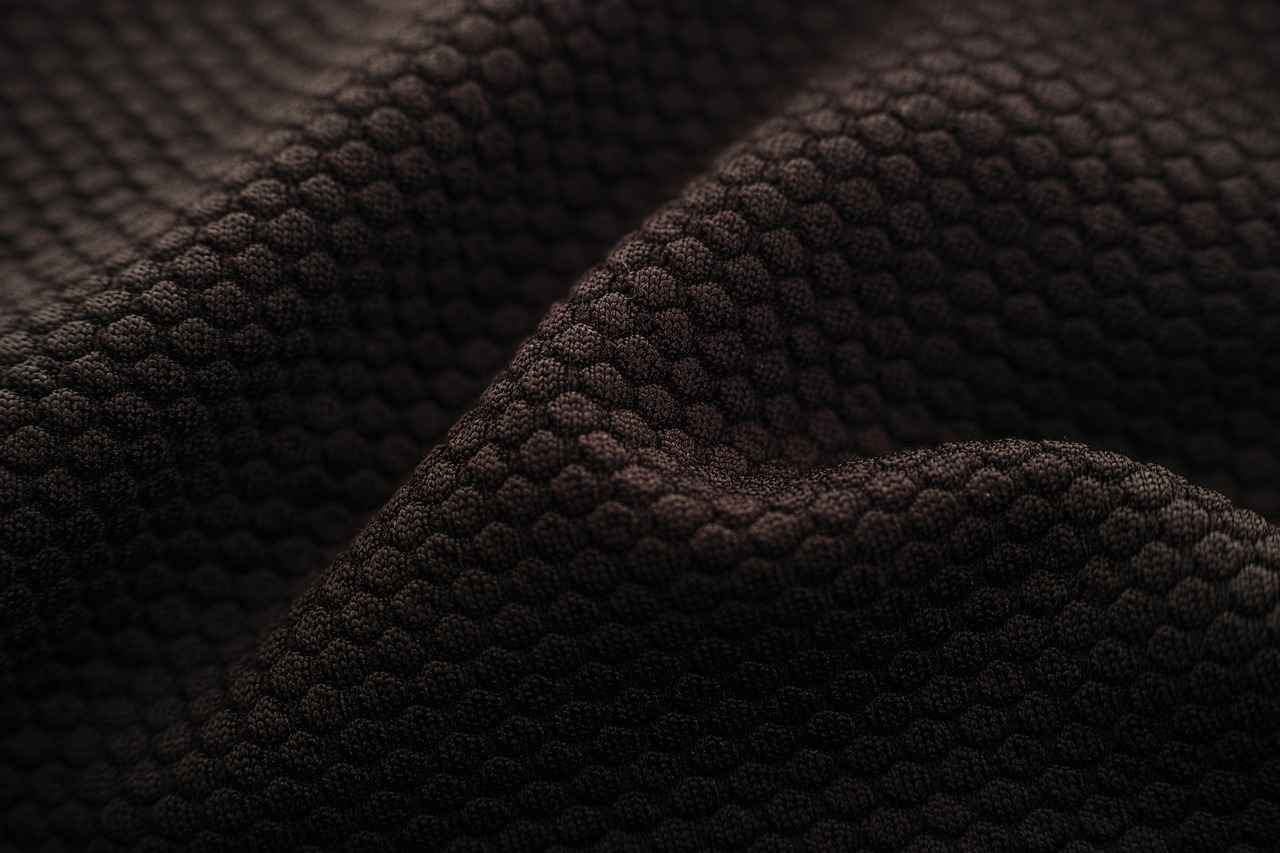
Selecting the appropriate fabric is crucial for achieving the desired look and feel of your kimono. The fabric not only influences the aesthetic appeal but also affects the drape, comfort, and overall experience of wearing the garment. Below, we explore various fabric types and their suitability for kimonos.
| Fabric Type | Description | Suitability |
|---|---|---|
| Silk | A luxurious, soft fabric with a beautiful sheen. | Ideal for formal occasions and traditional kimonos; offers a rich appearance. |
| Cotton | A breathable and versatile fabric that is easy to care for. | Perfect for casual kimonos and summer wear; comfortable for everyday use. |
| Rayon | A semi-synthetic fabric that mimics the feel of silk. | Great for draping and can be used for both casual and dressy kimonos. |
| Linen | A lightweight, breathable fabric known for its natural texture. | Excellent for warm weather kimonos; provides a relaxed, rustic look. |
| Polyester | A durable, synthetic fabric that resists wrinkles and fading. | Good for budget-friendly kimonos; suitable for everyday wear with easy maintenance. |
When choosing a fabric, consider the occasion, season, and your personal style. For instance, if you are creating a kimono for a formal event, silk or rayon would be more appropriate. Conversely, for a casual outing, cotton or linen might be the best choice. Additionally, always check the fabric’s weight and drape to ensure it aligns with your design vision.
In conclusion, the right fabric can transform your kimono from a simple garment into a stunning piece of art. Take the time to explore your options, and select a fabric that not only resonates with your personal style but also enhances the overall aesthetic of your creation.
Essential Sewing Tools
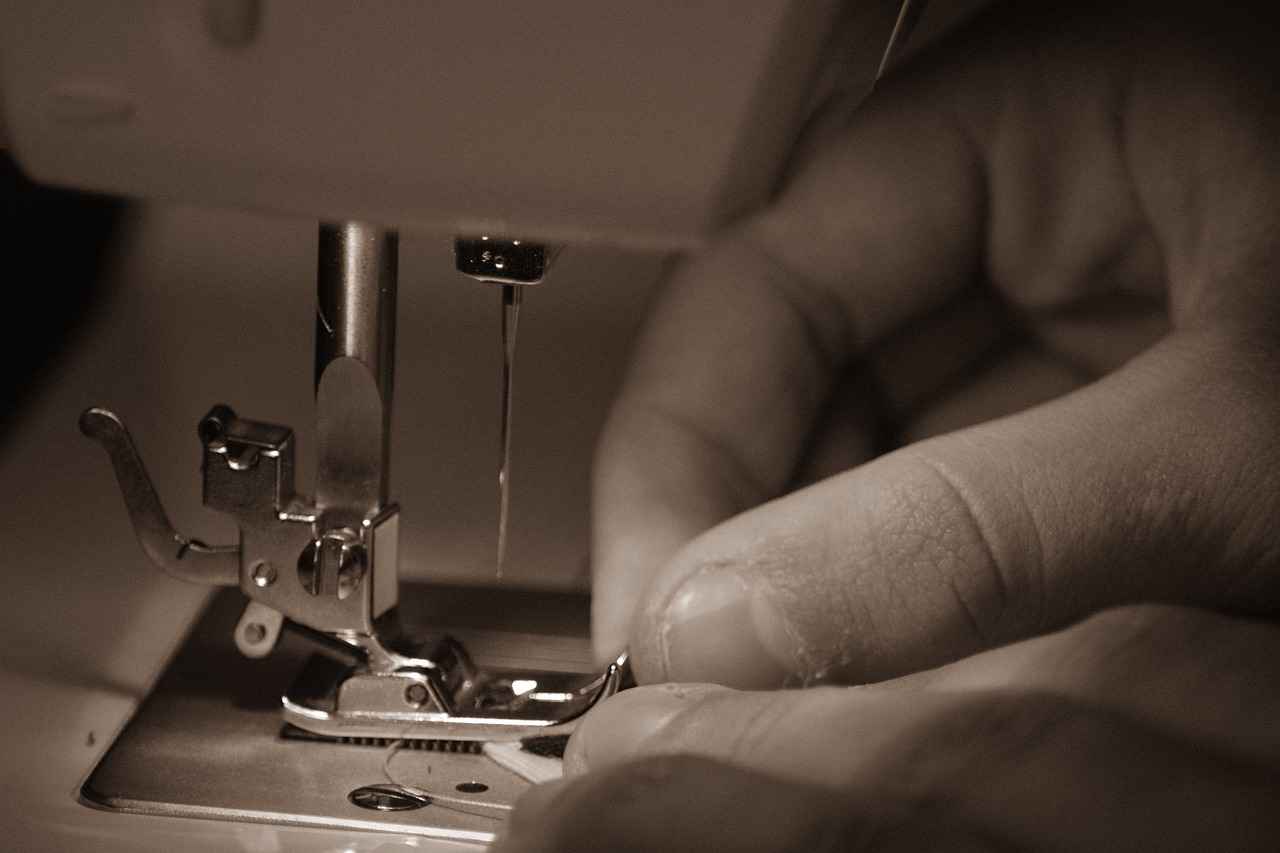
When embarking on the exciting journey of sewing your own kimono, being equipped with the right tools is essential for a smooth and successful project. Below is a comprehensive list of that will ensure you are well-prepared before you start.
- Sewing Machine: A reliable sewing machine is the backbone of your sewing project. Look for one with various stitch options to give your kimono a professional finish.
- Fabric Scissors: Invest in a high-quality pair of fabric scissors to ensure clean cuts. Dull scissors can lead to frayed edges and uneven hems.
- Measuring Tape: Accurate measurements are crucial. A flexible measuring tape will help you measure your fabric and body dimensions easily.
- Ruler and Straight Edge: Use these tools for precise measurements and to ensure straight lines when cutting fabric.
- Tailor’s Chalk or Fabric Markers: Marking your fabric is essential for cutting and sewing. Tailor’s chalk is easily removable, while fabric markers offer more visibility.
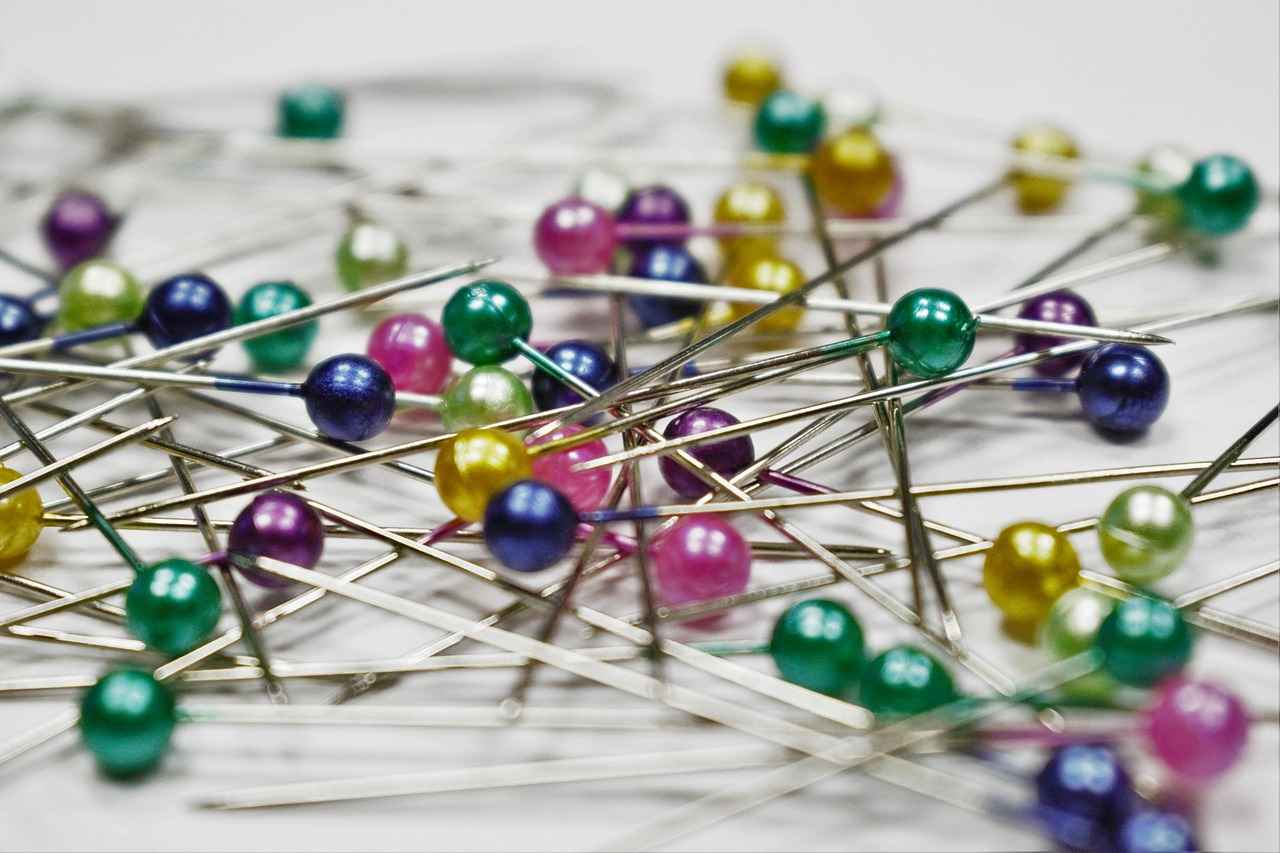
- Pin Cushion and Pins: Keep your fabric pieces together while sewing with pins. A pin cushion will help you organize them easily.
- Seam Ripper: Mistakes happen! A seam ripper will allow you to correct any errors without damaging your fabric.
- Iron and Ironing Board: Pressing your seams and fabric is crucial for a polished look. A good-quality iron will help you achieve crisp edges.
- Thread: Choose thread that matches your fabric color. Quality thread will ensure strong seams that can withstand wear.
- Needles: Different fabrics require different needles. Ensure you have a variety of needle sizes on hand for your project.
Having these tools at your disposal will not only make the sewing process more enjoyable but also enhance the overall quality of your kimono. Prepare your workspace and gather your materials before diving into this creative endeavor!
Reading the Sewing Pattern
Understanding how to read and interpret sewing patterns is vital for anyone looking to create their own garments, including a kimono. Sewing patterns come with a variety of symbols and instructions that can seem overwhelming at first, but breaking them down will provide clarity and confidence in your sewing journey.
- Pattern Symbols: Each sewing pattern includes a legend that explains the various symbols used. These symbols indicate important information, such as seam allowances, cutting lines, and markings for darts or pleats.
- Fabric Layout: Instructions on how to lay out your pattern pieces on the fabric are crucial. This ensures that you use your fabric efficiently and achieve the desired look for your kimono.
- Size Information: Patterns typically include a size chart. It is essential to measure yourself accurately and compare your measurements to the chart to select the right size for your kimono.
- Cutting Instructions: Pay close attention to the cutting instructions. They will guide you on how to cut your fabric pieces accurately, which is essential for a well-fitting garment.
- Sewing Instructions: The pattern will provide step-by-step sewing instructions. Following these instructions carefully will help you assemble your kimono correctly.
By familiarizing yourself with these elements, you will be better equipped to tackle your sewing project with confidence. Remember, practice makes perfect, so don’t hesitate to refer back to your pattern as you sew. With time, interpreting sewing patterns will become second nature, making your sewing experience even more enjoyable.
Preparing Your Fabric
is a crucial step in ensuring your kimono turns out beautifully and maintains its intended shape. This section will guide you through the essential steps of pre-washing and cutting your fabric, providing tips to achieve the best results.
Before you begin sewing, it is important to pre-wash your fabric. This process serves several purposes:
- Prevents Shrinkage: Washing your fabric before cutting helps to eliminate any potential shrinkage that may occur after your kimono is completed.
- Removes Chemicals: Fabrics often come with sizing and chemicals that can affect the dye and texture. Washing removes these substances, ensuring a softer feel.
- Improves Color Fastness: Pre-washing can help set the dye, reducing the risk of color bleeding during future washes.
To pre-wash your fabric, follow these steps:
- Check the Care Instructions: Always refer to the fabric label for specific washing instructions.
- Wash with Similar Colors: Use a gentle cycle with cold water and a mild detergent, washing similar colors together to prevent color transfer.
- Dry Properly: Air-dry your fabric or use a low-heat setting in the dryer to prevent damage.
Once your fabric is clean and dry, it’s time to cut your fabric. Here are some tips to ensure precision:
- Use Sharp Tools: Invest in good quality scissors or a rotary cutter for clean edges.
- Lay Out the Fabric Correctly: Ensure the fabric is folded properly, aligning the selvage edges to avoid distortion.
- Pin or Weigh Down the Pattern: Secure your pattern pieces with pins or weights to prevent shifting while cutting.
By following these essential steps for pre-washing and cutting your fabric, you will set a solid foundation for creating a stunning kimono that holds its shape and beauty for years to come.
Cutting the Pattern Pieces
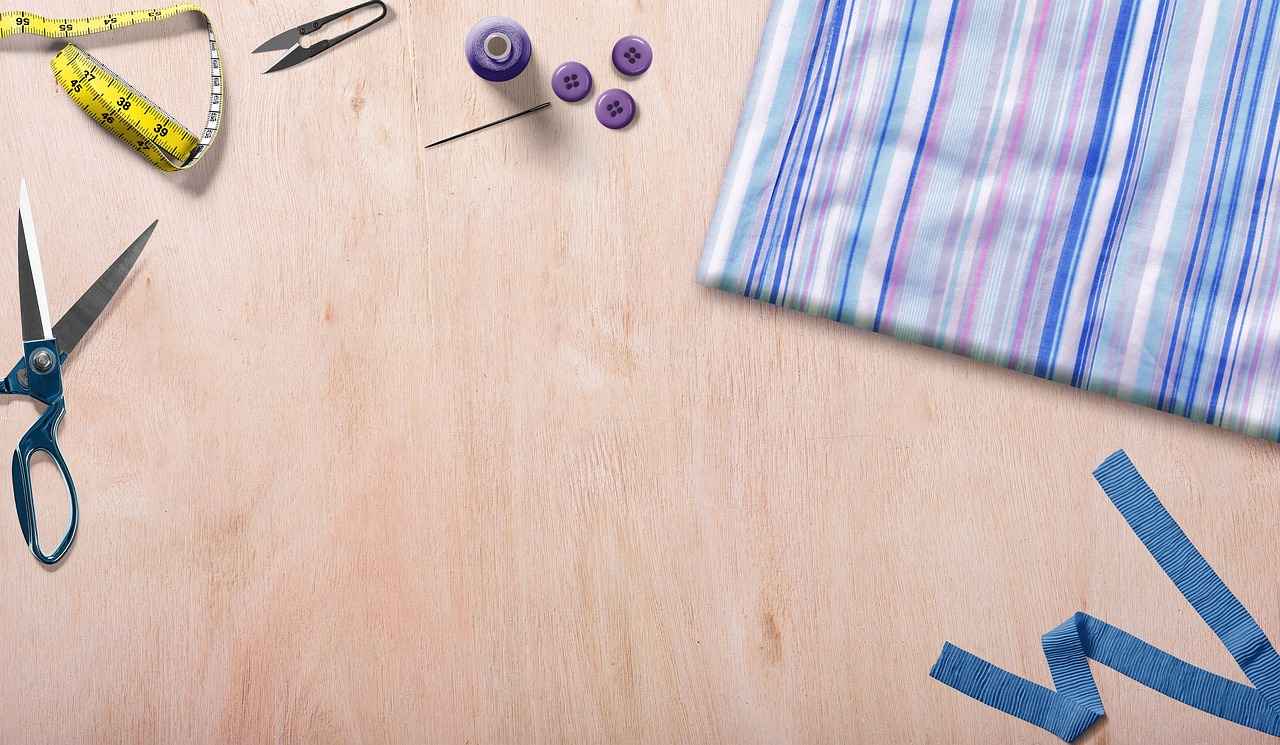
When it comes to creating your own kimono, accurately cutting your pattern pieces from the fabric is essential for achieving a professional finish. Here are some valuable tips to ensure that you cut your pieces efficiently while conserving fabric.
- Prepare Your Workspace: Ensure you have a clean, flat surface to work on. This will help you lay out your fabric and pattern pieces without any distractions.
- Pre-Wash Your Fabric: Before cutting, it’s crucial to pre-wash your fabric to prevent any shrinkage after your kimono is completed. This step will help maintain the integrity of your garment.
- Layout Suggestions: To maximize fabric usage, consider the grainline of your fabric. Align your pattern pieces according to the grainline markings to ensure that your kimono drapes correctly.
- Use Weights Instead of Pins: Instead of pinning your pattern pieces to the fabric, which can distort the fabric, use weights to hold them in place. This method allows for a more accurate cut.
- Cut with Precision: Use sharp fabric scissors or a rotary cutter for clean edges. Take your time while cutting to avoid mistakes that could lead to wasted fabric.
- Marking the Fabric: Use fabric chalk or a marking pen to indicate notches and other essential markings on your fabric. This will help you assemble your kimono accurately later on.
- Plan for Fabric Conservation: If your fabric is limited, consider using a layout guide that shows how to arrange the pieces to minimize waste. You can find many resources online or in sewing books.
By following these tips, you’ll be well-equipped to cut your pattern pieces accurately, setting a solid foundation for the rest of your kimono-making process. Remember, taking the time to cut correctly will pay off in the quality of your finished garment.
Assembling the Kimono
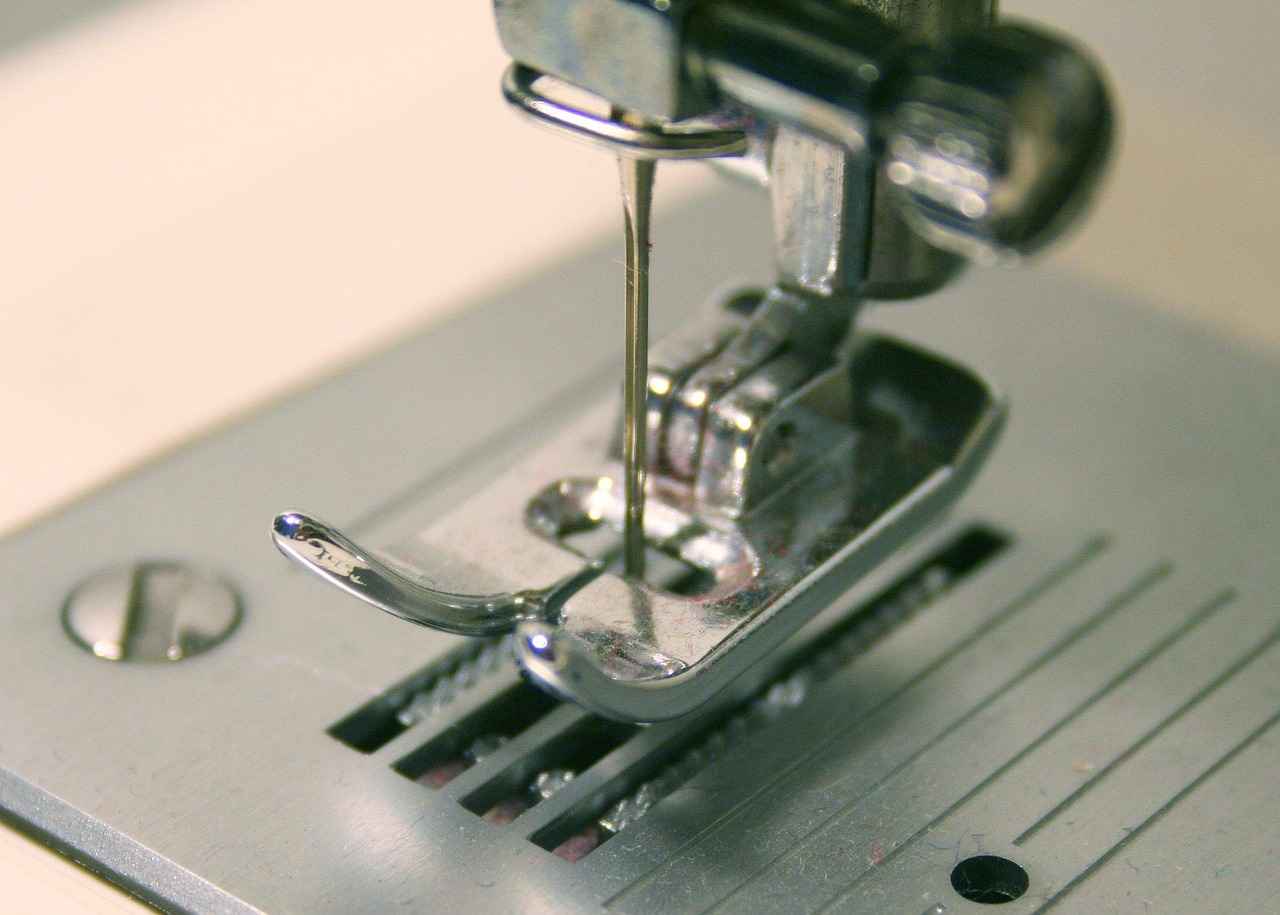
Assembling your kimono can be an exciting yet intricate process. In this section, we will provide step-by-step instructions to guide you through the assembly, ensuring you achieve clean seams and a polished finish.
- Step 1: Gather Your Materials
- Fabric pieces
- Sewing machine
- Thread matching your fabric
- Scissors or rotary cutter
- Measuring tape
- Iron and ironing board
- Step 2: Start with the Back Piece
Begin by laying out the back piece of your kimono. Pin the fabric to prevent slipping while sewing. Use a straight stitch to sew along the edges, ensuring your seams are even and secure.
- Step 3: Attach the Sleeves
Next, align the sleeves with the armholes. Pin them in place and sew using a zigzag stitch for added flexibility. This will help prevent the seams from breaking when you wear the kimono.
- Step 4: Sew the Side Seams
With the sleeves attached, fold the kimono in half and sew the side seams from the bottom to the underarm area. Ensure that the fabric is smooth and taut while sewing to avoid puckering.
- Step 5: Hem the Edges
To finish the edges, fold them over twice and sew a narrow hem. This will give your kimono a clean and professional look. Remember to press the seams with an iron for a crisp finish.
- Step 6: Final Touches
Finally, inspect your kimono for any loose threads or imperfections. Make any necessary adjustments, and give your kimono a final press to ensure it looks its best.
By following these detailed steps, you can assemble your kimono with confidence, resulting in a beautiful garment that showcases your sewing skills.
Adding Decorative Elements
Transforming your kimono into a unique piece of art can be achieved through various decorative elements. Personalizing your garment not only enhances its visual appeal but also reflects your individual style. Here are some effective methods to add those special touches:
- Embroidery: This timeless technique allows you to create intricate designs using thread. Whether you choose floral patterns, geometric shapes, or custom motifs, embroidery can add depth and texture to your kimono. Consider using contrasting colors to make your designs pop.
- Appliqué: This involves sewing or gluing a piece of fabric onto your kimono to create a layered effect. You can use different fabrics, such as silk or cotton, to introduce various textures and patterns. Appliqué is perfect for adding bold designs or playful shapes.
- Fabric Paint: For those who enjoy painting, fabric paint offers a versatile way to customize your kimono. You can create freehand designs, stencils, or even use stamps. This method allows for a wide range of creativity, from delicate details to bold splashes of color.
- Beading and Sequins: Adding beads or sequins can give your kimono a touch of glamour. These embellishments can be sewn onto specific areas, such as the sleeves or hem, to catch the light and add a sparkling effect.
- Patchwork: Incorporating various fabric pieces through patchwork can create a stunning visual effect. This technique not only allows for creativity but also makes use of leftover fabric scraps, promoting sustainability.
When adding these decorative elements, consider the overall theme and color palette of your kimono. Make sure that your embellishments complement the fabric and style you have chosen. Ultimately, your goal is to create a piece that is not only beautiful but also uniquely yours.
Finishing Touches
As you approach the final stages of creating your own kimono, it’s essential to focus on the that will elevate your garment from good to exceptional. This section will guide you through the crucial steps of hemming, adding closures, and pressing your kimono for a polished appearance.
Hemming Your Kimono
The hem is the final edge of your kimono, and a well-executed hem can significantly enhance its overall look. Begin by folding the raw edges of the fabric inward, typically about 1 inch, and pin it in place. You can choose between a hand-stitched hem for a delicate finish or a machine-stitched hem for durability. Make sure to use a thread that matches your fabric to keep the look seamless.
Adding Closures
Closures are not only functional but also add a touch of style to your kimono. There are various options to consider:
- Frog closures: These traditional fasteners are decorative and easy to use.
- Buttons: A classic choice that can be customized to match your fabric.
- Ties: Simple fabric ties can create a relaxed and casual look.
Choose the closure that best fits your design and ensure it is securely attached for both functionality and aesthetics.
Pressing for a Polished Look
Once your kimono is assembled and the closures are added, it’s time to give it a good press. Use a steam iron on the appropriate setting for your fabric type. Pressing not only removes any wrinkles but also helps to set the seams and hems, giving your kimono a crisp, professional finish. Be sure to use a pressing cloth to protect delicate fabrics from direct heat.
In conclusion, the finishing touches of hemming, adding closures, and pressing are vital steps in completing your kimono. By paying attention to these details, you will ensure that your garment looks stunning and is ready to be worn with pride.
Styling Your Kimono
Once you’ve crafted your beautiful kimono, the next step is to style and wear it in a way that reflects your personal taste and complements your outfit. Here are some effective ways to achieve that:
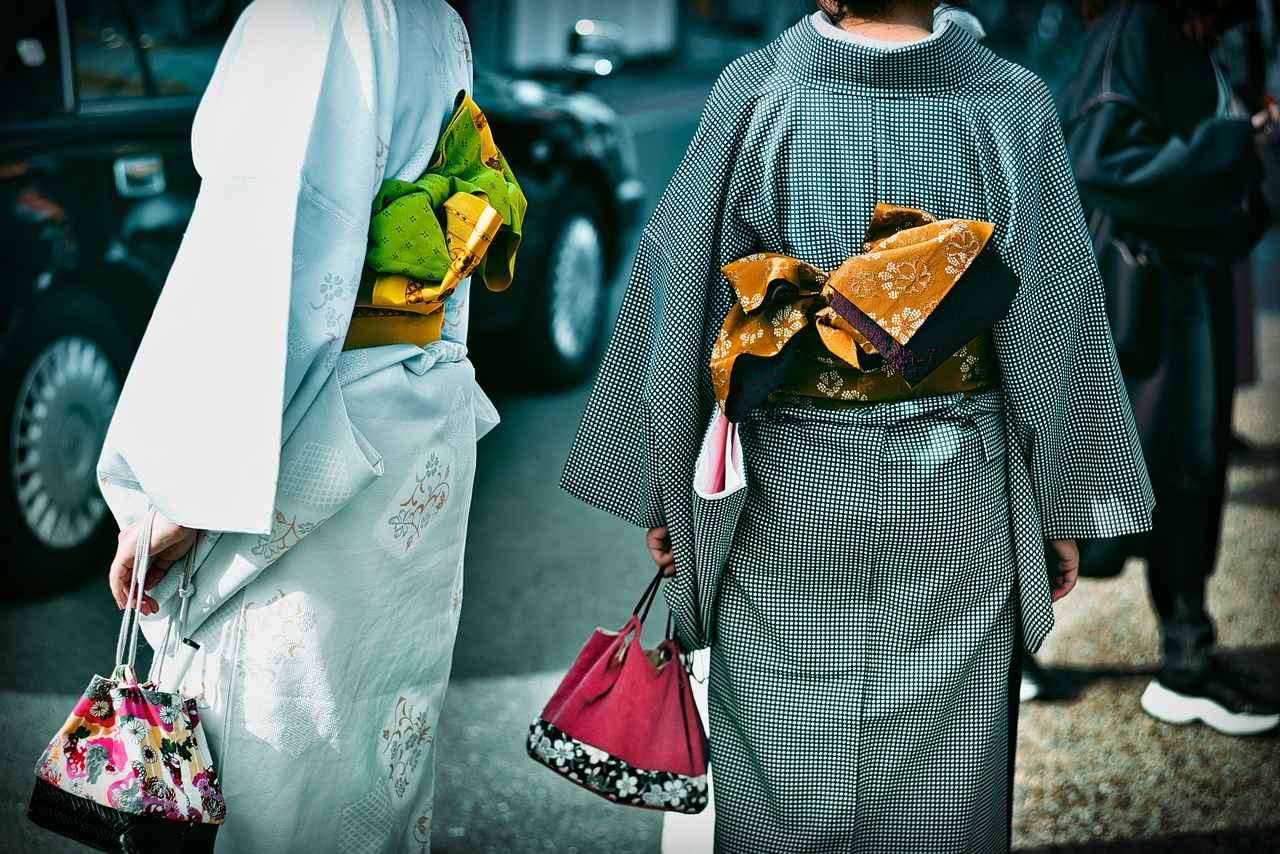
- Layering Techniques: Kimonos are versatile garments that can be layered over various outfits. For a casual look, try wearing your kimono over a simple t-shirt and jeans. For a more formal occasion, consider layering it over a fitted dress or a skirt to create an elegant silhouette.
- Accessorizing: Accessories play a crucial role in enhancing your kimono outfit. A wide belt can cinch the waist, adding shape and definition. You can also incorporate statement jewelry, such as chunky necklaces or large earrings, to draw attention to your look.
- Footwear Choices: The type of shoes you wear can significantly affect your overall appearance. Sandals or flats work well for a laid-back vibe, while heels can elevate your outfit for special events.
- Mixing Patterns: Don’t shy away from mixing patterns! A floral kimono can be paired with striped tops or polka dot bottoms for a fun, eclectic style. Just ensure that the colors complement each other for a cohesive look.
- Seasonal Styling: Consider the season when styling your kimono. In cooler months, layer it over a long-sleeve top and add a scarf for warmth. In summer, a lightweight kimono can be the perfect cover-up for beachwear.
By experimenting with these styling options, you can showcase your unique sense of fashion while enjoying the elegance and comfort of your handmade kimono. Remember, the key to a great outfit is confidence, so wear your kimono with pride!
Common Mistakes to Avoid
When embarking on the journey of creating your own kimono, it is essential to be aware of potential pitfalls that can hinder your sewing experience. Here, we outline some of the most frequent mistakes and provide practical advice on how to avoid them, ensuring a smoother and more enjoyable process.
- Ignoring the Sewing Pattern Instructions: One of the most common mistakes is neglecting to read the sewing pattern thoroughly. Each pattern comes with specific instructions that guide you through the process. Make sure to familiarize yourself with all the symbols and steps before cutting your fabric.
- Choosing the Wrong Fabric: Selecting an inappropriate fabric can lead to disappointing results. For instance, using a heavy fabric for a flowing kimono can affect its drape. Always consider the weight and texture of the fabric in relation to the style of kimono you are making.
- Neglecting Fabric Preparation: Failing to pre-wash your fabric can result in shrinking or color bleeding after your kimono is completed. Always wash and iron your fabric before cutting to maintain its quality.
- Cutting Errors: Accurate cutting is crucial for a well-fitted kimono. Ensure your pattern pieces are laid out correctly and use sharp scissors for clean edges. Double-check your measurements to avoid mistakes.
- Rushing the Assembly: Sewing can be a meticulous process. Rushing through assembly often leads to uneven seams or missed stitches. Take your time, and don’t hesitate to unpick and redo sections if necessary.
- Overlooking Finishing Touches: Final details like hemming and pressing can significantly enhance the overall appearance of your kimono. Always dedicate time to these finishing touches for a polished look.
By being mindful of these common mistakes, you can enhance your sewing experience and create a beautiful kimono that you will be proud to wear. Remember, practice makes perfect, and each project is an opportunity to learn and improve your skills.
Conclusion and Final Thoughts
As you reach the end of your kimono-making journey, take a moment to reflect on the skills you’ve acquired and the creativity you’ve expressed through this project. Crafting your own kimono not only allows you to wear a piece of art but also offers a profound sense of accomplishment. Here are some encouragements and tips to motivate you for future sewing endeavors:
- Embrace the Learning Process: Every project is a learning opportunity. Don’t be discouraged by mistakes; instead, view them as stepping stones to improvement.
- Experiment with Fabrics: Now that you’ve made your first kimono, consider trying different fabrics. Each material brings a unique texture and drape, allowing you to explore various styles.
- Incorporate New Techniques: Challenge yourself by incorporating new sewing techniques, such as different stitching methods or adding linings. This will enhance your skills and the quality of your garments.
- Join a Community: Connect with fellow sewing enthusiasts, either online or in local groups. Sharing your experiences and learning from others can be incredibly motivating.
- Document Your Journey: Keep a sewing journal or blog about your projects. Documenting your process can provide insights for future projects and serve as a source of inspiration.
Remember, the satisfaction of creating your own clothing is unmatched. Each stitch tells a story, and every kimono you make will hold memories of your creativity and hard work. As you continue your sewing journey, approach each project with an open mind and a spirit of adventure. Happy sewing!
Frequently Asked Questions
- What type of fabric is best for a kimono?
Choosing the right fabric can make or break your kimono! Lightweight fabrics like cotton, silk, or rayon are fantastic options. They drape beautifully and provide that classic kimono feel. Think about your climate and the occasion too—some fabrics are better suited for warmer weather, while others work well in cooler temperatures.
- How do I read a sewing pattern?
Reading a sewing pattern might seem daunting at first, but it’s like following a treasure map! Start by familiarizing yourself with the symbols and markings. The instructions will guide you step-by-step, so take your time and don’t rush through it. If you get stuck, there are plenty of online resources and videos to help you decode the mysteries of sewing patterns!
- Can I add my own decorative elements to the kimono?
Absolutely! Personalizing your kimono with decorative elements like embroidery or fabric paint is what makes it uniquely yours. Think of it as adding your signature to a masterpiece. Just make sure that whatever you add complements the overall design and fabric of your kimono.
- What are common mistakes to avoid when making a kimono?
One common pitfall is not pre-washing your fabric, which can lead to unexpected shrinkage after you’ve finished sewing. Another mistake is ignoring the pattern’s cutting layout, which can waste fabric. Take your time, double-check your measurements, and don’t hesitate to consult tutorials if you’re unsure!


